How do I create a credit pack?
To create a credit pack, follow these steps:
- Go to My Company > Products
- Click + New product
- Select Credit pack for type of product
- Fill in the Name, for example, "10-ride card"
- Click Next
You then have the following basic settings:
- Name: give a name to the product, for example, 10-ride card or 20 Credits. You can use the name to specify for how many sessions the ride card applies or how many credits the package contains.
- Credits: indicate how many credits (rides/turns) one receives when purchasing the product.
- Period of validity: indicate how many days, weeks, or months the product is valid upon purchase.
- Set as a trial package?: toggle whether the client can purchase the package only once
- Description: provide a brief description to indicate, for example, which lessons or training courses can be booked with the product.
- Visibility: indicate whether and how you want the product to be visible
- Price: determine the price (incl. VAT) of the product.
- VAT: Set the VAT percentage, for example, 9% or 21%.
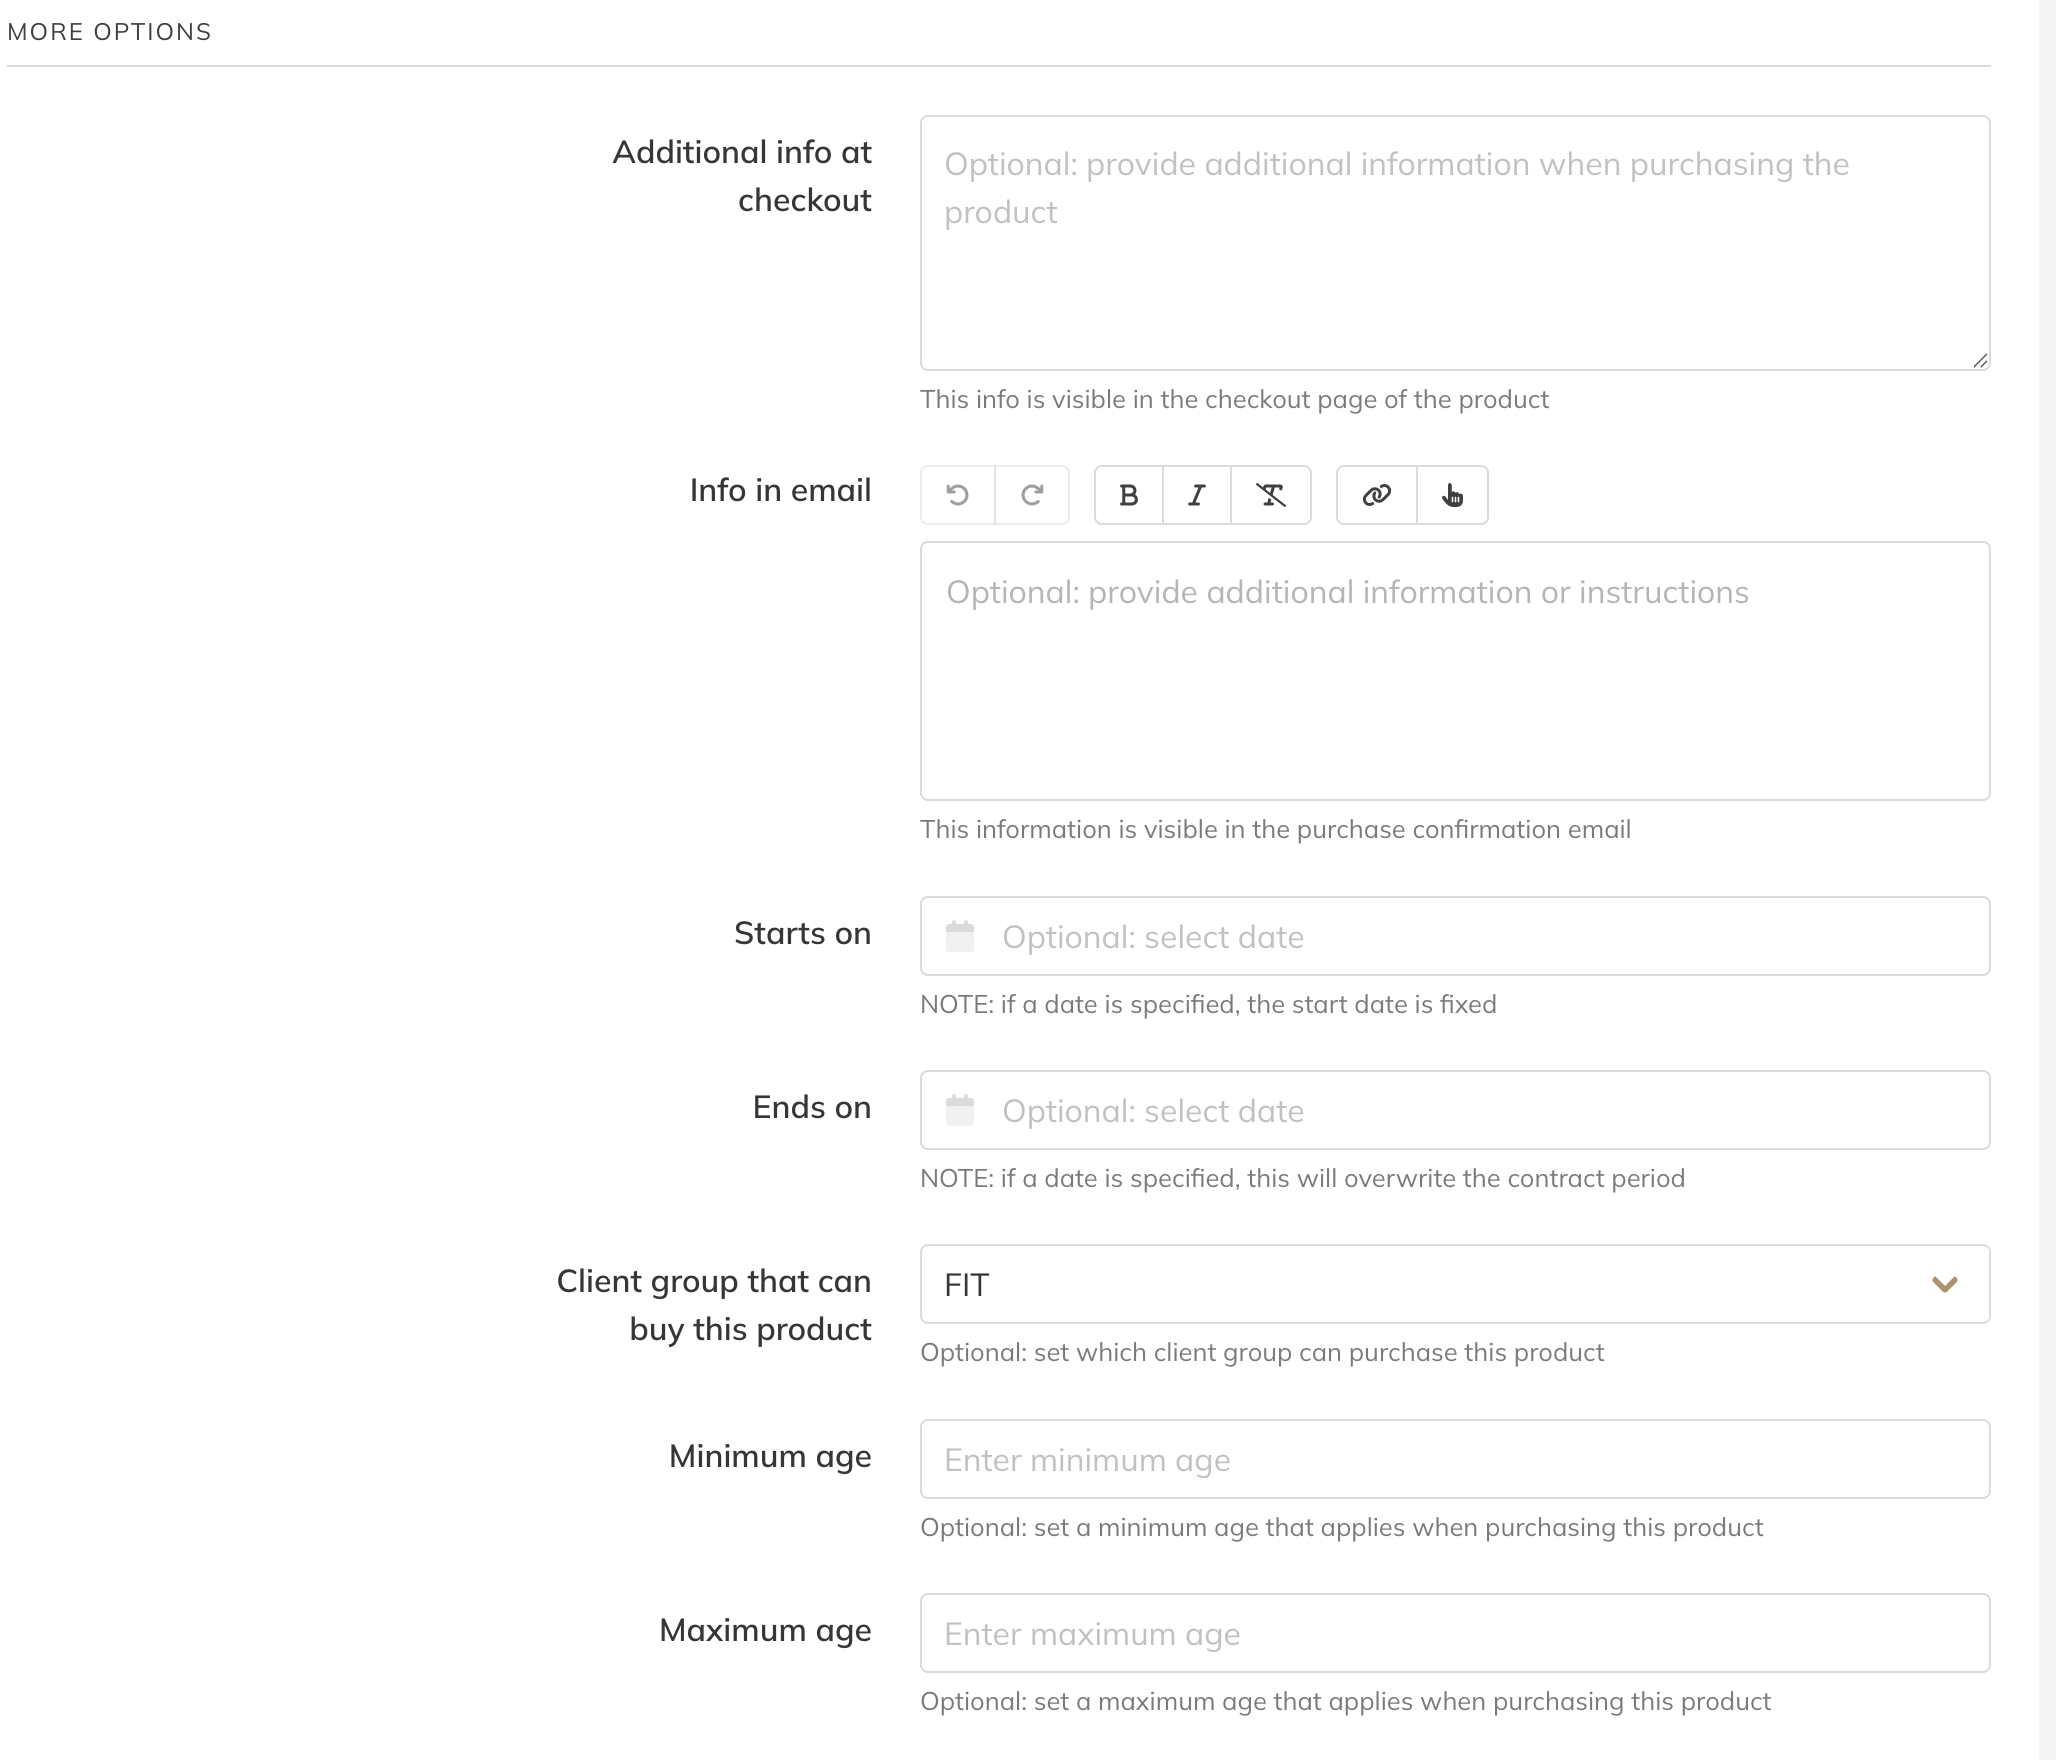
You also have the following additional options:
- Trial package: you can easily create a (free) Trial package by selecting "Yes" under Trial lesson, pass, or package. The product can then only be purchased once per client. This is ideal if you want to offer an introductory package.
- Hide product in shop: you can hide the product in the shop, so that you can only provide it to clients yourself via, for example, a payment request.
- Info in the e-mail: you can give clients extra information or instructions in the e-mail that is sent after purchasing this specific product.
- Valid until: you can add a specific end date to the product. Please note: if a date is filled in here, it overrides the validity period that is normally valid for the product.
- Only for client group (PRO): you can set whether the product can only be purchased by a client who belongs to a specific group, e.g. to offer a unique or cheaper product.
